Secure is the new un-secure when it comes to the amount of website that transitioned from un-secure pages to fully secured sites. Google is even indexing and rating search results based on secure pages. I still remember the good old days when even Facebook was an un-secure page.
Let’s get started –
Step 1
Buy the SSL certificate on NameCheap’s website. I went with the cheapest option.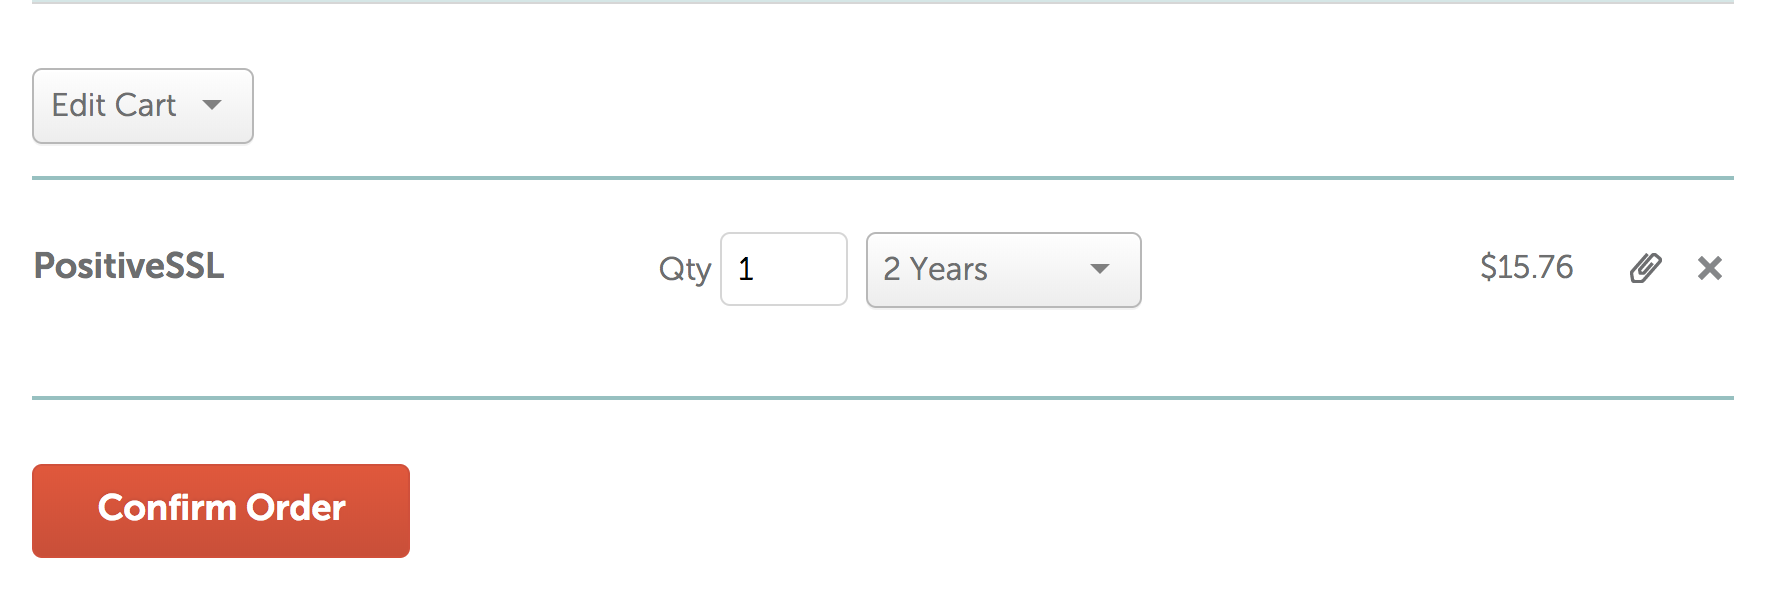
Step 2. Confirm domain ownership using the Domain Control Validation. I had a hard time with HTML option and found creating an email alias worked better.
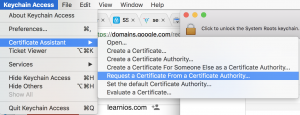
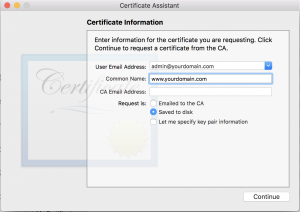
Step 3. Create a Certificate Signing Request (CSR) using Mac Os KeyChain.
- Open Keychain access

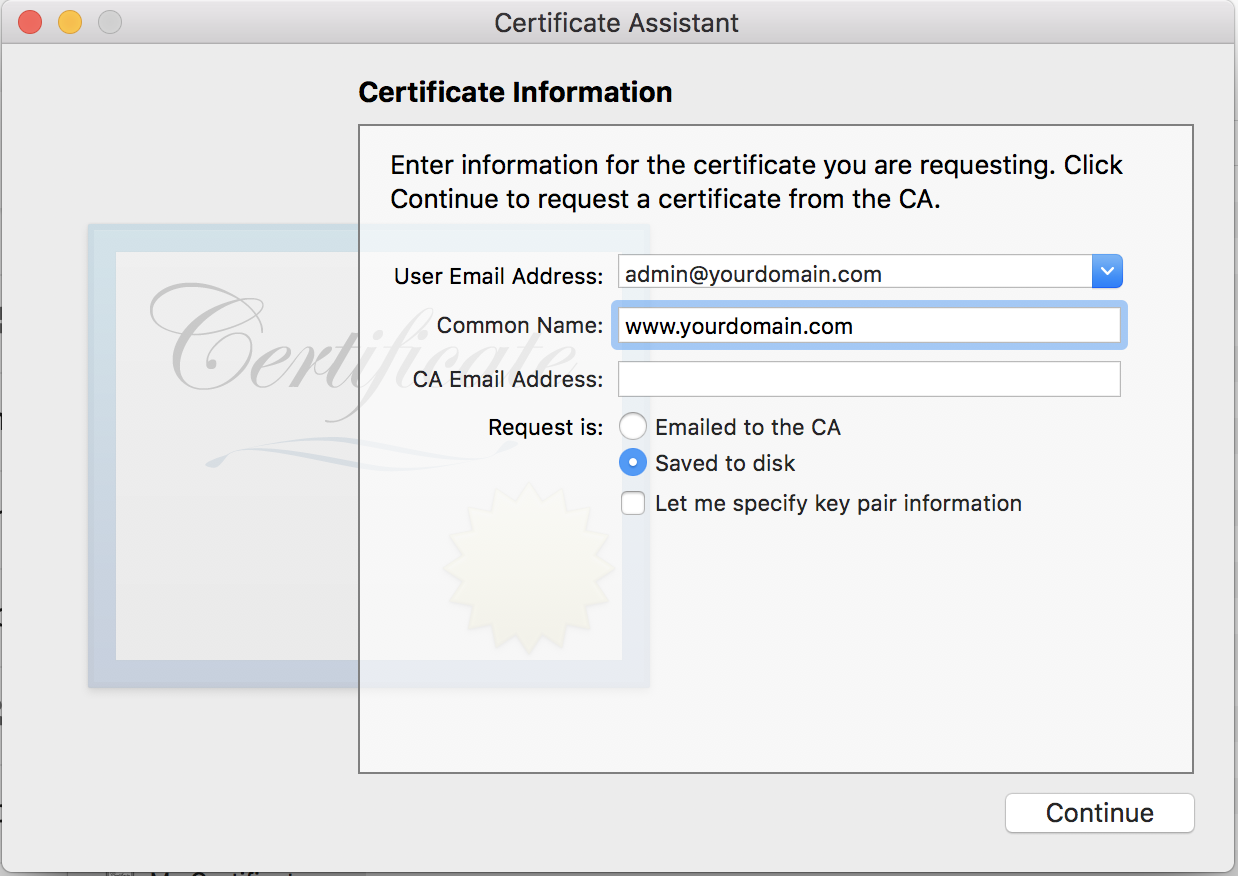
Step 4. Open the save CSR in text edit or another text editor and copy the contents of the CSR into your clipboard. It will look like this –

Step 5. Login and paste the CSR into the NameCheap console in the verified domain. The domain name should validate. You should get two options, select any other server.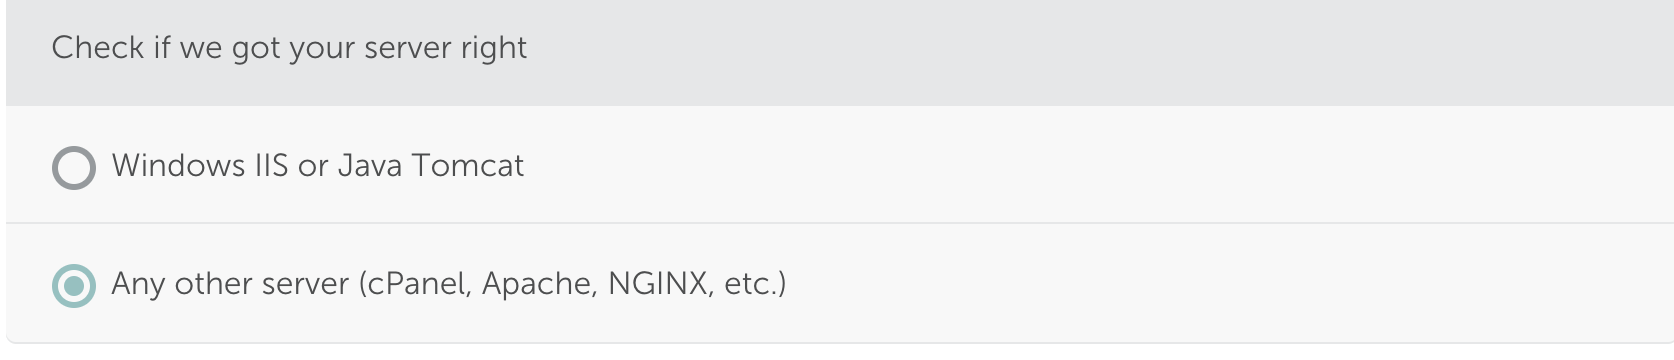
Step 6. After a few moments of processing, you will now you will get an email and be able to download your signed certificate folder. It will contain three files (.ca-bundle, .crt and .p7b). I suggest adding your previously exported private key to this folder.
Step 7. Now the fun part… We need to get everything in the correct format for our MAMP installation. We will start by exporting and converting our private key to a format that does not contain a password.
Open up KeyChain access and look for your newly generated private key. 
It will ask you to set a password when you export the file.
Now we need to convert the file –
openssl pkcs12 -in PATH-of-p12-private-key-export-file -out path-to-export.pem -nodes -nocerts
Enter your export password and then enter it again to set it for the export.
Now remove the password completely
openssl rsa -in PATH-of-pem-private-key-export-file -out path-to-export.key
Save the .key file in your SSL folder with the downloaded certificates.
Step 8. Open the .ca-bundle file and you will see three certificates. Remove the last certificate. This is just an additional anchor cert that will ding your SSL score.
Step 9. rename the .ca-bundle file to namecheapchain.pem
Step 10. Securely upload the certs to your server in a location that can hold your certs.
Step 11. Open up MAMP and associate your new certs!
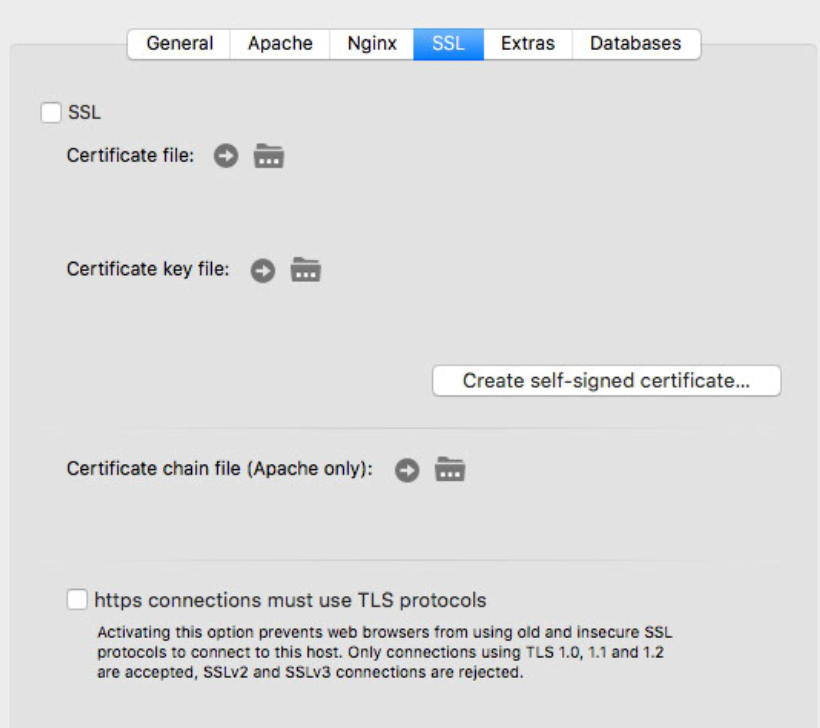
MAMP PRO SSL Settings
- Certificate file is the one ending in .crt downloaded directly from NameCheap.
- Is the exported and converted private key ending in .key.
- This will be the certificate chain file ending in .pem
I also checked https connections must use TLS protocols
Then restart Apache and give it a test.
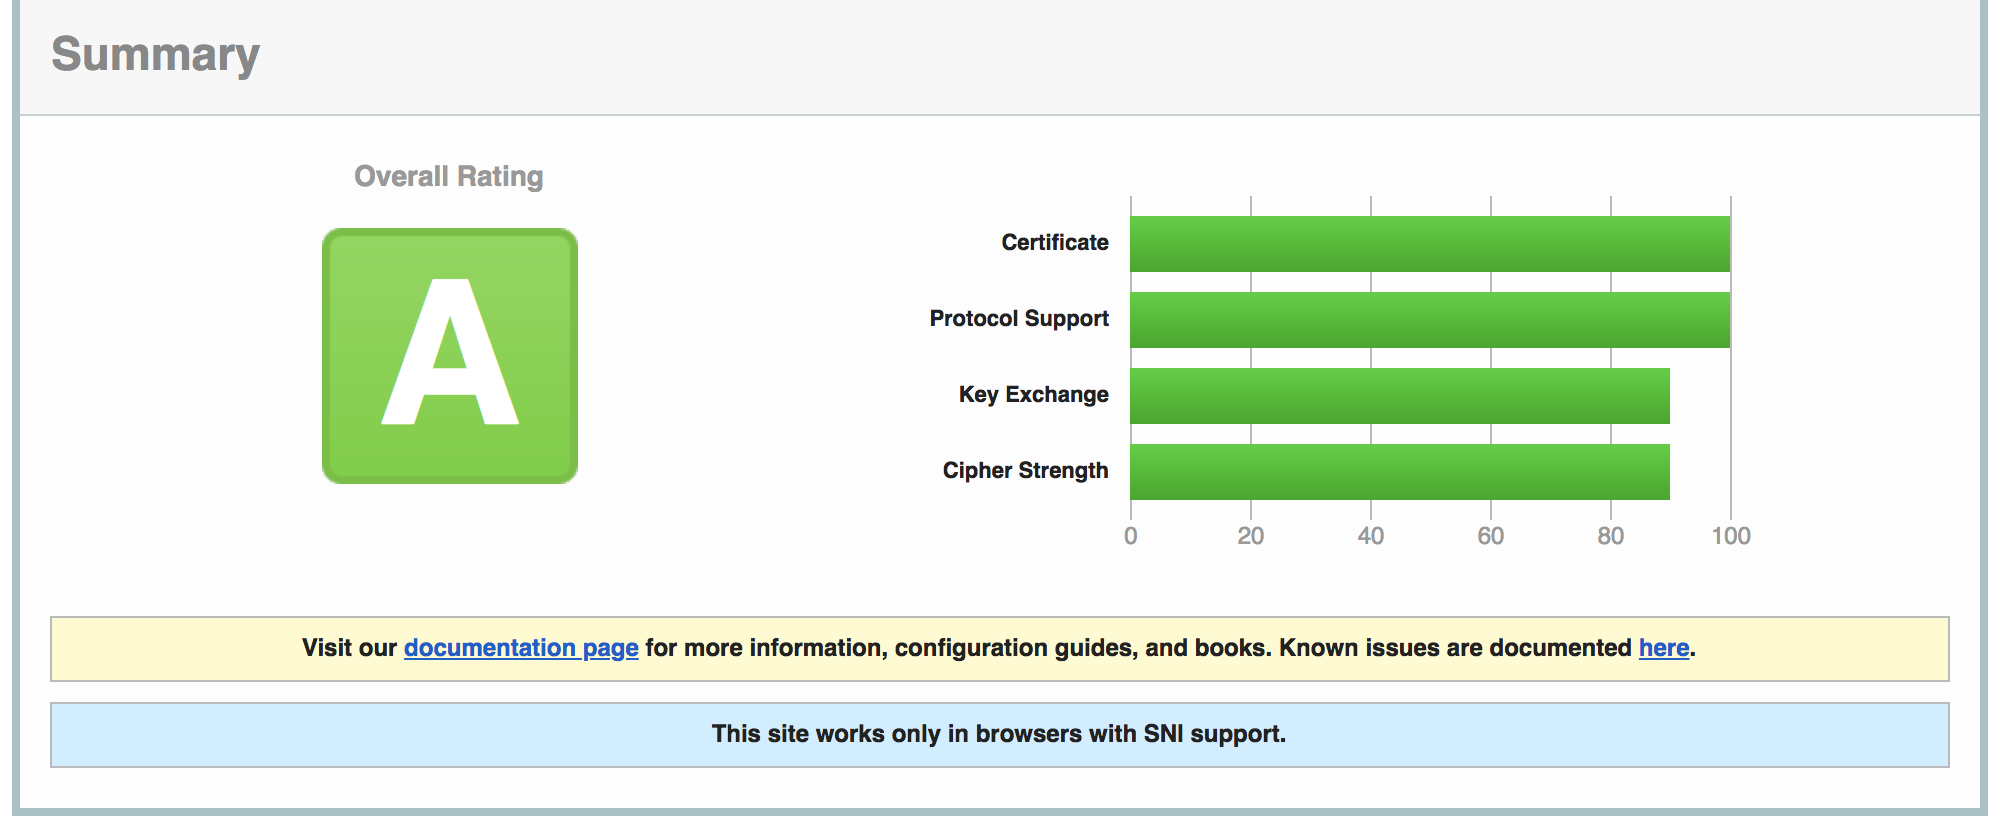
You can also run a detailed test like this one –
.